TOYOTA BZ4X

The list of questions and information will probably continue to grow until i end up buying a new electric car, so i will keep updating this list as i find out more about this car.

I am thinking of getting the Toyota BZ4X, So I will be posting my findings here, the order of the questions is counter intuitive, because I always prefer to start at the place that branches most

– Is the Toyota BZ4x exactly the same as the Subaru Solterra ?

  • All the research up to now says they are identical, but i have not been able to validate this conclusion yet

– Which diagnostics software does the car use ?

Why so early with this question ? because the upcoming questions need to adapt to answer this one which provides better questions down the line !

On the Toyota Techstream website, there is a claim that Version 18 works with the BZ4X, I will test this in person hopefully today.

– The BZ4X sold in china is made by GAC MOTOR (FAW no longer makes them), while the one sold in north america is made in Japan, are those cars exactly the same ?

My research up to this point says they should be, but I can’t seem to find any differences besides the battery size

– Cars sharing the e-TNGA platform share what exactly ?

Electric motor location, driver positioning, and battery width are fixed between all the models that will use this platform (Toyota, Subaru, Suzuki, Daihatsu, and possibly mazda)! Number of batteries, Wheelbase, and anything not mentioned in the fixed list can probably be different

– Maintenance and possible pitfalls

To begin with, I still drive a Nissan Leaf 2014, with over 100K Kilometers on it, and 10 bars of battery health, the car has paid for itself over the past few years (Before the most recent electricity hike in Jordan)

So, because one point leads to the other, going through the 3 points above in the counter intuitive direction (In reverse) makes more sense

MINI-VCI xhorse clone

The mnost common OBD2 adapter used with Toyota techstream is a $20 clone of the XHORSE brand adapter

This adapter is slow to say the least, So i will be comparing it to the Godiag adapter in terms of speed and functionality since they both can work on techstream, and they are priced almost the same.

In linux, the adapter has the IDs (0403:6001), which is naturally the UART side of the adapter, the complete lsusb line is

Bus 003 Device 003: ID 0403:6001 Future Technology Devices International, Ltd FT232 Serial (UART) IC

To pass this to virtual machines, a file needs to be made , so create the file ““/etc/libvirt/qemu/usb/xhorseclone.xml”

<hostdev mode='subsystem' type='usb' managed='yes'>
    <source>
        <vendor id='0x0403'/>
        <product id='0x6001'/>
    </source>
</hostdev>

This way, we can attach and detach this device to the virtual machine with the commands

virsh attach-device toyota --file /etc/libvirt/qemu/usb/xhorseclone.xml --current
virsh detach-device toyota --file /etc/libvirt/qemu/usb/xhorseclone.xml --current

Copy KVM virtual machine

This is much simpler than you’d expect (provided there are no hardware passthoughs, and there usually isn’t), All you need to do is copy both the Disk and the XML file (Typically in /etc/libvirt/qemu) then

1- edit the following in the XML file

Create a new virtual machine ID

uuidgen

Create new MAC addresses for every network adapter

https://olavmrk.github.io/html-macgen/

Change the path to the disks to point to where you put the new copy of the disks

Thats it, now you need to tell KVM about it so….

2- Tell KVM about the new definition with the define function

virsh define /etc/libvirt/qemu/newxmlfile.xml

GODIAG GD101 NANO (J2534 Passthrough)

My $25 GoDiag GD101 Nano showed up in the mail yesterday, Acording to the seller, it has functionality similar to Tactrix Openport 2.0, but we are yet to test this theory

Planning to test the tool with a bunch of software and post results here

Since the tool makes no claim about being compatible with Mercedes xentry passthrough, I will be starting there (Verified, Works well with Xentry/DAS, Speed is not bad, no special setup required besides installing the driver)

as soon as I plug in the godiag USB, windows 10 Added USB Serial Device (COM 3) at 9600bps, 8 data bits, and 1 stop bit, while Linux (lsusb) returned “Bus 003 Device 005: ID e327:2534 NATIONS N32G43x Port”, again, this is probably just the UART adapter, and has nothing to do with what to expect in terms of functionality

To begin with, I will be installing everything in a KVM machine, and passing the godiag device to it with the following file “/etc/libvirt/qemu/usb/godiag.xml”

<hostdev mode='subsystem' type='usb' managed='yes'>
    <source>
        <vendor id='0xe327'/>
        <product id='0x2534'/>
    </source>
</hostdev>

Then, I can attach/detach the device with

virsh attach-device mercedes --file /etc/libvirt/qemu/usb/godiag.xml --current
virsh detach-device mercedes --file /etc/libvirt/qemu/usb/godiag.xml --current

Disable windows defender antivirus [2024]

Recently, Windows defender antivirus has become very hard to disable in Windows 10 (And probably 11), previously, you would disable tamper protection, then open gpedit.msc, navigate to the setting and voila, recently, doing this o longer works, now, as soon as you close group policy editor (gpedit.msc) and open it again, the setting to disable windows defender antivirus pops up again ! You were also abe to do this from the registry, which does not work now.

So, it turns out that you need the following extra steps now, So here are the complete instructions

1- Start as you would by disabling tamper protection, you can do that by going to “Windows security”, then Virus and threat protection, then click on the “Manage settings” button, and finally disable tamper protection

2- Create a file with the .REG extension containing the following and execute it !

[HKEY_LOCAL_MACHINE\SYSTEM\CurrentControlSet\Services\SecurityHealthService]
"Start"=dword:00000004

[HKEY_LOCAL_MACHINE\SYSTEM\CurrentControlSet\Services\wscsvc]
"Start"=dword:00000004

Now execute the above, if it does not work because “binary values can only be edited manually”, then you will need to visit the locations above in regedit (Run as administrator) and switch the values of both to (4) which means disabled

Now before proceeding to the following procedure (The same OLD procedure), You will need to restart your computer for the settings above to take effect

  • Run gpedit.msc as administrator
  • Computer configuration => Administrative templates => Windows Components => Microsoft defender antivirus
  • Now, you should find the entry “Turn off Microsoft defender antivirus”, double click it, and select Enable then okay
  • Restart your computer again

A message still appears urging me to enable it, Click the three dots at the top of that message and disable this notification so that you won’t accidentally re-enable antivirus by clicking the message

Mounting various image files in Linux

Hyper-v disk files, with extensions such as vhdx and vhd can be mounted under linux directly with the libguestfs-tools tool, mind you, many packages will be installed… mostly libraries relating to the formats it is capable of mounting

sudo apt-get install libguestfs-tools

Now, the following command should mount the disk inside the virtual machine

guestmount --add diskname.vhdx --inspector /mount/dir/name

If the system does not detect a system, you will need to tell guestmount what partition to mount, to explore the partitions, you will need ….

 virt-filesystems -a disk.vhdx

Once you know your partitions

guestmount --add disk_d.vhdx -m /dev/sda1  /hds/loop

If you would rather mount the disk as read only, you can add the –ro switch

guestmount --add yourVirtualDisk.vhdx --inspector --ro /mnt/anydirectory

To unmount, you will need to use the following command

guestunmount /mnt/anydirectory

VW group OBD-II tools

First, If you are here to research before you buy, the post explaining everything not specific, but applies to VW is here.

VW- group cars include Volkswagen, Audi, Seat, Skoda, Bentley, MAN, Lamborghini, and Bugatti, all those vehicles use the same VW diagnostics software.

The software for VW cars is called ODIS and comes in 2 flavors, Service and Engineering (ODIS-S, and ODIS-E)

You don’t need all of the hardware to run the ODIS system as any windows based machine should replace most parts of the station, What you will need is a VCI pass-thru device.

In fact, you don’t need the original hardware at all for that purpose, Your laptop and a cheap passthrough device should do, for example, the GODIAG GD101 is a $20 passthrough piece that works with VWs own software

Legend:
Red = Complete system
Green = VCI passthrough plug

  • VAS5052A (Computer)
  • VAS5054 (VAS5052A) (VCI, OKI Chip, Bluetooth)
  • VAS5054A (VAS5052A) (VCI, OKI Chip, Bluetooth)
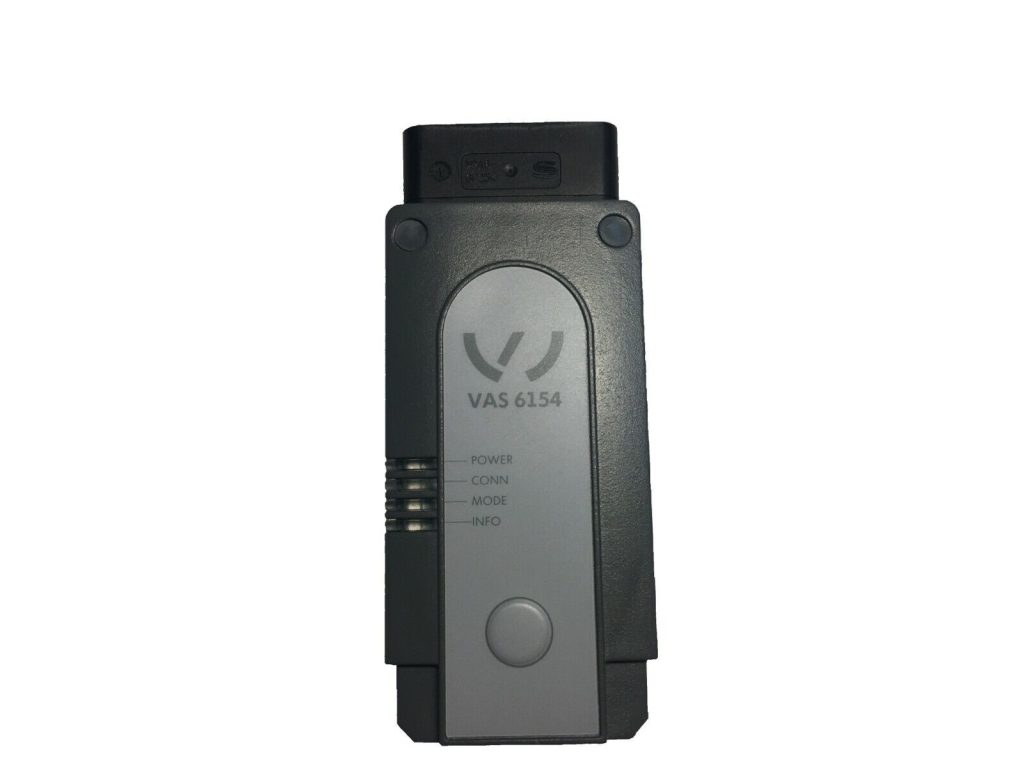
  • VAS6150B
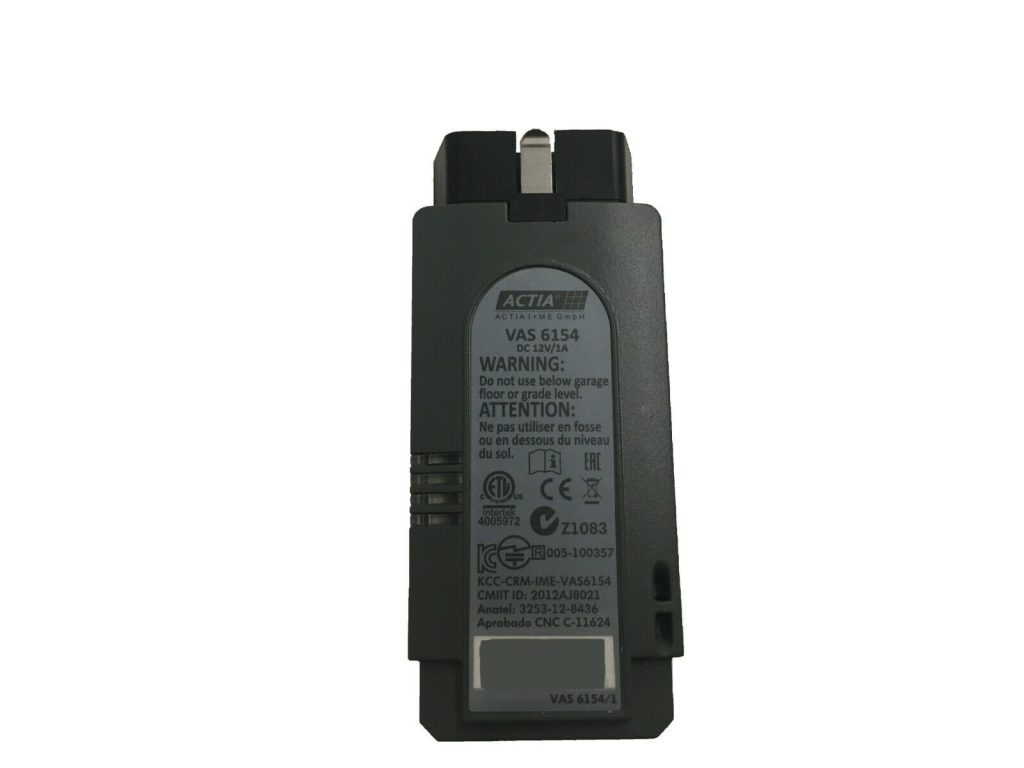
  • VAS 6154A (Like B but different wifi chip)
  • VAS 6154B (VCI, ODIS-S 23.0.0 and newer only)
  • VAS6160A (VAS 6160 (Newer vehicles), VAS 5051 (Older vehicles), VAS 5052 (non-brand vehicles), VAS 5052A)
  • VAS6160C
  • VAS6150E-NV
  • VAS6150F (VAS6154B)
  • VAS6150F-NV

Cantact OBD

This special CAN BUS hardware (https://cantact.io/cantact/users-guide.html) is very nice in the sense that it lends itself to many possibilities, and this is why I am creating this separate post about it.

An alternative board is the https://canable.io/ board, but I will stick to the board I own for this post

The standard firmware for my Cantact is candlelight available at linklayer/candleLight_fw, And there is a firmware here (https://github.com/HubertD/candleLight), the official users manual page is here (https://cantact.io/) and here (https://github.com/linklayer/cantact-book)

Linklayer also provides some very nice tools such as (https://github.com/linklayer/cantact-app)

Now, with that out of the way, let us take a look at the board itself

microcontroller

etching reads…

stm32f
042CbTb
GH238 93
CHN 708

Which tells us that the microcontroller is an STM32, A great choice for such a device (See the wikipedia article linked)

On linux, can-utils is a great tool for this thing

I actually made a 3D model casing that fits the board perfectly, I will post it here when i find it

List of OBD-II and Automotive repair software

This is a list of software and hardware that are relevant to repairing and parts of cars and trucks

Terms and concepts

Obviously, all of this is missing many details that are mostly irrelevant to why you are reading this post, You are probably here to figure out what tools you will need, and that is what I will focus on.

  • PID: Parameter IDs: The test software sends IDs and expects error codes or information in return, Some IDs are mandated by the state, other IDs are specific to a manufacturer.
  • response (Ex: Error) codes: Just like the PIDs (The questions- sent by the testing instruments), some responses are mandatory standards and others are manufacturer or car specific.
  • J1979: A standard set of PID/Response codes of which many are mandatory for all vehicles mostly for emissions regulations purposes
  • J1962: A standard for the hardware connector plug you can see under your instrument panel (Under your dash, in the footwell), formally named The DLC (Data link connector), Starting 1996, the OBD-II (OBD2) connector with both its variants (OBDII-A for 12V and OBDII-B for 24V) should be available for all cars sold in the US. Although it is now universal, some cars in other parts of the world didn’t get them until a few years later.
  • ELM327 command protocol:
  • J2534: THE TOOL, A tool that supports the J2534 standard should be able to speak to the vehicle in all of the following protocols (ISO9141, ISO14230 (KWP2000), J1850, CAN (ISO11898), ISO15765, SAE J2610, and J1939 (2005+))
Continue reading “List of OBD-II and Automotive repair software”

My brand new Sandisk clip sport plus MP3 player

Well, MP3 players are a thing of the past I know that much, but i do appreciate the compact size and dedicated hardware so I got this one, it came with 32GB of storage, Here are my findings

1- You need to heat up and remove the glass before you remove the frame as the frame has 4 screws under the glass !

2- The storage is a simple 32GB SD card, i took it out, Used DD to copy it to a 128GB SD card, put it back in, then used the format function on the device itself and it works !

That’s it, you can expand this to 128GB (Probably more, but i can’t guarantee that), but again, the firmware of the device is on the SD card, so you need to duplicate it before you put the new card in.